Serving - 200ml or 1-2 cups
BREW GUIDE | Aeropress
The Aeropress is a fun and easy to use brewing method which can be used as standard or inverted. The compact design makes the aeropress perfect for use while traveling, especially now that the smaller Aeropress Go also has been released. Immersion brewers such as the Aeropress offer different a style of cup due to the coffee grounds remaining in contact with the same brewing water for the entirety of the brew. This means that extraction slows when an equilibrium is reached, creating a brew with a more similar composition of flavor molecules to the make up of the coffee beans. The Aeropress offers a greater mouthfeel and a sweet and balanced cup with less perceived acidity than a traditional pour over method.
Our Aeropress recipe is for the standard Aeropress Coffee Maker and requires using the brewer inverted. For brewing with the Aeropress Go, use 200ml of water and 13,5 grams of coffee.
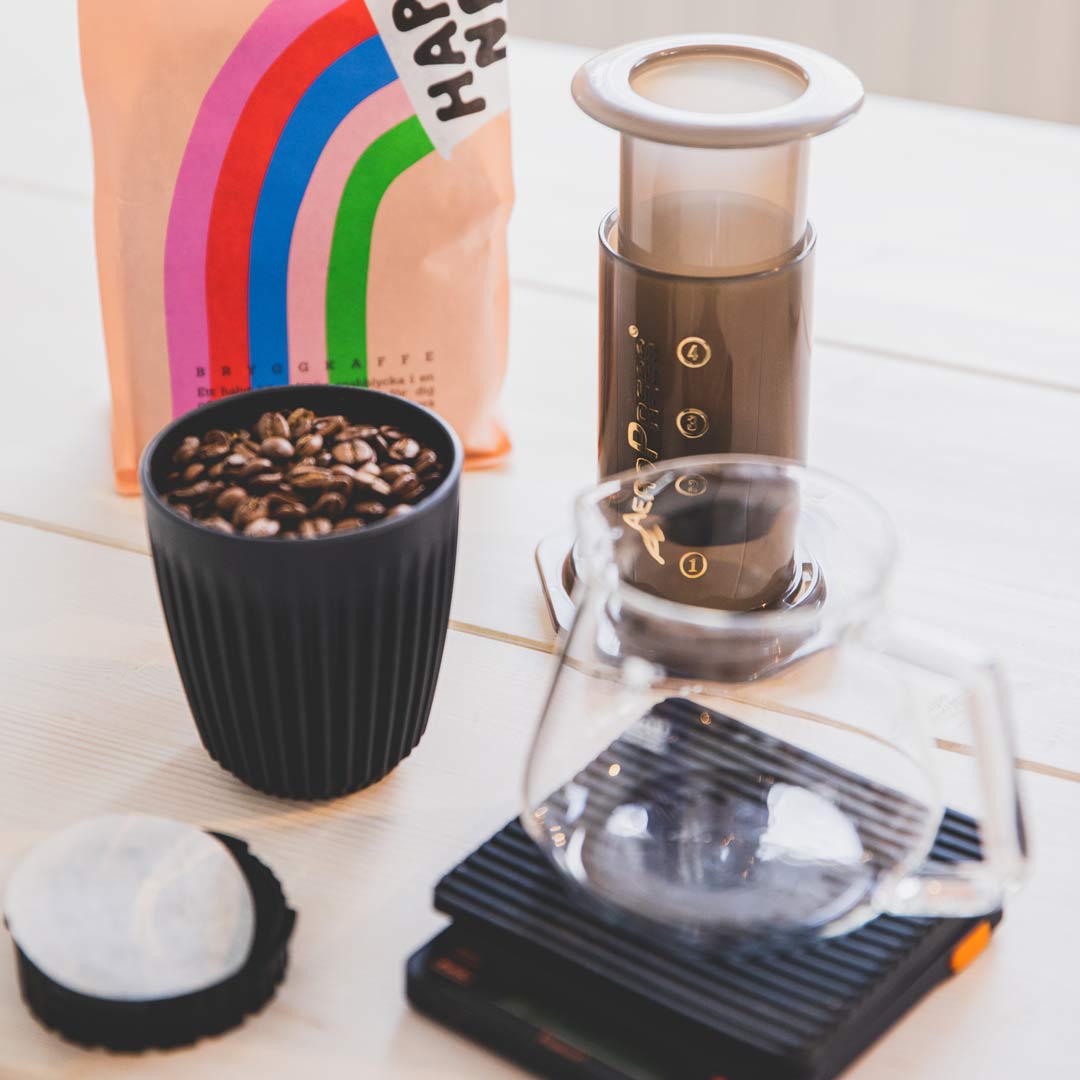
Equipment
- Aeropress,
- Paper filter
- Freshly roasted coffee
- Glass server
- Digital scale
- Timer
- Spoon for stirring
- Pouring kettle
Dose - 17 grams
Grind - Fine
Water - 88-94 degrees
Brew Time - 1 minute 30 seconds
Step 1
Place a paper filter into the filter holder and rinse thoroughly with boiling water, being careful to avoid burning yourself. This removes some of the paper taste and helps to keep the paper filter in place. Discard the used water.
Step 2
Place the rubber seal of the plunger into the brewer securely and place the brewer onto a scale with the opening facing upwards. Grind 17 grams of freshly roasted coffee using a fairly fine grind, a similar consistency to caster sugar. Add the ground coffee to the brewer and shake lightly to level the bed.
Step 3
Pour 250 grams of water, just off the boil, onto the grounds. Pour vigorously to ensure that all grounds are moistened.
Step 4
Using a spoon, give the slurry three stirs, ensuring to reach the bottom of the brewer. This ensures that all grounds are moistened and creates turbulence, aiding extraction.
Step 5
Add the cap to the Aeropress brewer and allow to steep for 1 minute and 10 seconds.
Step 6
Once the coffee has finished steeping, flip to brewer onto your server. Flip forcefully but in a controlled motion, ensuring to give support to both the brewer and the plunger.
Step 7
Give the brewer and server and quick swirl before slowly pressing down on the plunging until the hissing sound of escaping air is heard.
Dispose of the coffee puck from the brewer by removing the cap and pushing the plunger all the way through the brewer. Give your coffee a gentle stir and serve.
Enjoy your freshly brewed cup of Lykke coffee!